
Creating a Flutter Layout: An Easy Tutorial
Designing engaging user interfaces is a difficulty that many of us face during the app development process. But relax! Google’s open-source UI toolkit, Flutter, has got you covered. Flutter enables you to build an application’s user interface and create stunning layouts with a single codebase during hybrid, iOS, and Android app development. With its powerful graphics and animation libraries, Flutter helps you to build incredible interfaces that work smoothly with just a feather-like touch. Built on Dart programming Flutter provides you with a quick developmental flow, and allows you to quickly iterate your codes.
Flutter known for its rich arrangement of gadgets, it is a go-to instrument for designers looking to make lovely, locally gathered applications for versatile, web, and work areas from a solitary codebase. In this blog, we’ll help you create a Flutter layout to ease your mobile app development journey. Whether you’re a beginner or an experienced iOS or Android developer, this guide will help you use Flutter’s powerful UI capabilities for seamless mobile app development.
Prerequisites

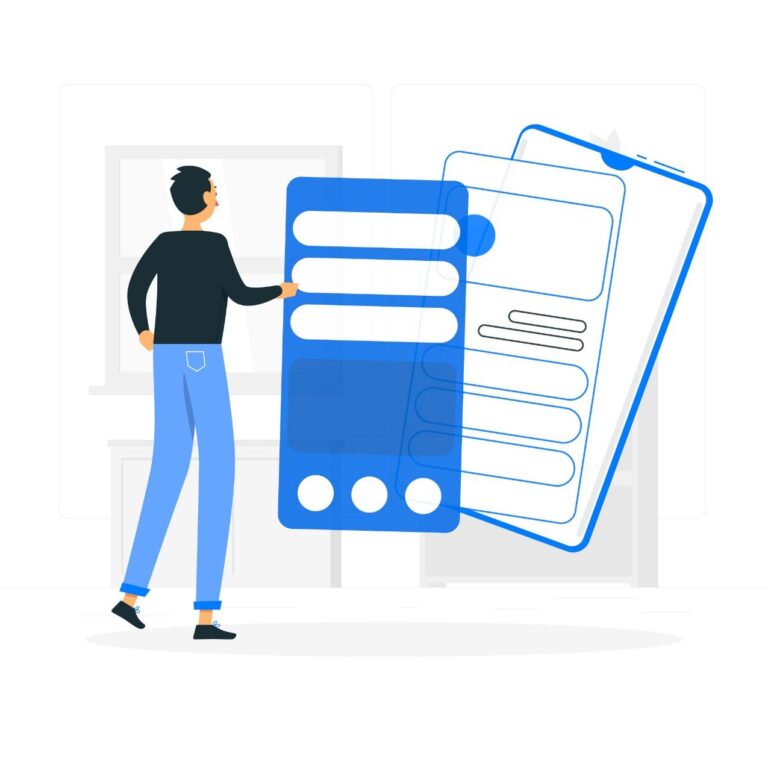
When considering a flutter UI design, one of the most important things you must do is ensure that it provides value to end users. In contrast to the past, you don’t have to be very good at designing to make a great UI design. There are numerous easy-to-utilize apparatuses that have been created to assist with accomplishing the planning work quickly, with compelling reasons to have complex programming abilities or information. Flutter UI design instruments are easy to utilize, so exceptionally even as a novice, you needn’t bother with a ton of preparation to utilize it. Before beginning with the guide, it is crucial to know what flutter is and what it requires. Created by Google, Flutter gained popularity due to its rapid development, highly interactive UI, and visual appeal. Flutter uses the programming language, Dart, which was also created by Google. Dart is object-oriented and safe. It is not only easy to learn but can also be used to build web and desktop applications. Developers can make changes and those changes will be reflected in the application right away.
It’s essential to check if you have all the required components before creating Flutter layouts. The first and foremost step is installing Flutter by following the official instructions on the Flutter website. In addition, an Integrated Development Environment (IDE) to develop Flutter applications; options include Visual Studio Code, IntelliJ IDEA, and Android Studio. It is also necessary to have a basic understanding of the Dart programming language because Flutter depends on Dart for its logic and functionality. With these elements in space, you can kickstart your Flutter layout journey in Android, iOS, and hybrid app development.
An Easy Guide to Flutter Layout
Assuming you are new to Flutter, let’s start from the beginning. In this detailed lesson on Flutter layouts, we’ll begin with the basic terms you need to know. Remember, everything in Flutter has to do with widgets. The Flutter app’s screen elements are all widgets. Widgets are the foundation of Flutter’s layout mechanism. In Ripple, nearly everything is a gadget — even format models are gadgets. The pictures, symbols, and text that you find in a Flutter application are gadgets. However, things you don’t see are additional gadgets, like the lines, segments, and networks that organize, oblige, and adjust the noticeable gadgets. You make a design by creating gadgets to fabricate more complicated gadgets.
The selection and order of the widgets used to build the apps determines the entire screen view. What’s more?, the design of the code of applications is a tree of gadgets. So, start with a new Flutter project and then configure it. Then, define the app’s structure using Flutter widgets like MaterialApp, Scaffold, and AppBar. Organize the material using a responsive layout with rows and columns. When talking about flutter, we need to talk about “child and children”. Don’t worry! It has nothing to do with actual children.
Child and children
The difference between “child and children” is very important in Flutter. As we mentioned earlier, flutter has everything to do with widgets. Thus, one widget is referred to as a child, and multiple widgets are referred to as children. The same goes for containers and columns. A container can only have a single child whereas a column can have many widgets, thus, many children. You might be wondering what a container might be. A container is a widget class that permits you to customize your child widget. Utilize a Container when you need to add padding, margins, borders, or background color tone, to name a portion of its capacities.
Many child layout widgets are available in Flutter which will make coding easier if you choose the correct widget accordingly. Remembering all the widgets is not necessary when you are just a beginner. But, knowing what each widget can be used for would be extremely helpful. Using the right widget will help you save time, also making the code a bit more readable. Make sure to be aware of the difference while programming. Now that we are clear with child and children, Let’s get into rows and columns.
Rows and Columns
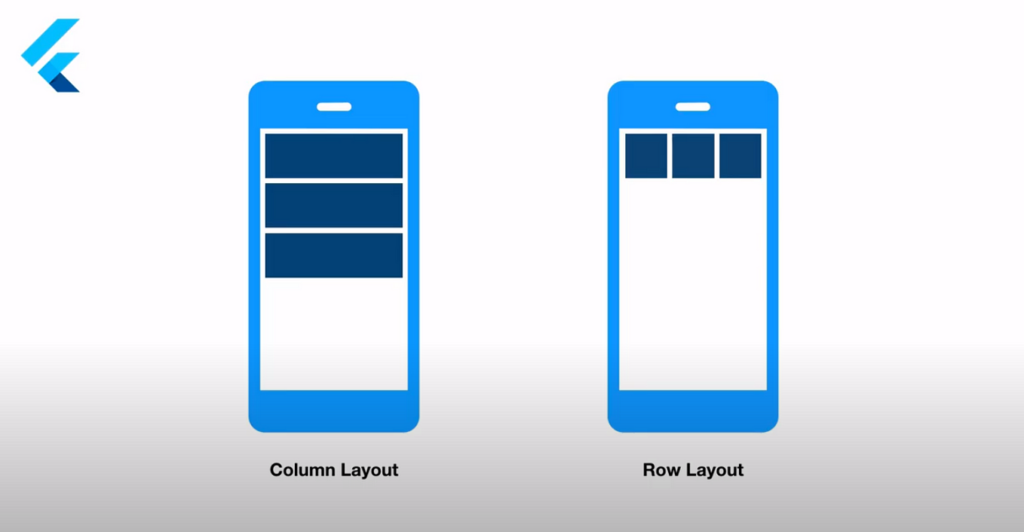
Rows and columns are the most essential widgets in Flutter. These help you align children horizontally or vertically as per your requirements. Because we are aware that any UI (User Interface) that we design in a flutter must arrange its content in rows and columns, these Row and Column widgets are necessary when designing UI. Three things to keep in mind are:
- If a group of UI items are arranged vertically in a row, use a column.
- If they are lined up horizontally, use a row.
- If they are stacked, use a stack where the floating widgets are placed around the widgets.
Row enables you to create a horizontal array of children whereas columns enable you to create a vertical array of children. In that row, we can use Main Axis Alignment to align children horizontally and Cross Axis Alignment to align them vertically. A row widget doesn’t seem scrollable because it shows the widgets inside the noticeable view. So it is viewed as off-base if we have more children in a row which won’t fit in the accessible space. If we have any desire to make a scrollable rundown of row widgets, we would need to utilize the List View gadget.
Columns are another form of widget that is equally important in Flutter. It organizes its children in a vertical position from top to bottom. Similar to the Row widget, A column widget doesn’t seem scrollable because it shows the widgets inside the visible view. So it is viewed as off-base if we have more children in a column which won’t fit in the accessible space. If we have any desire to make a scrollable rundown of column widgets, we would need to utilize the ListView gadget. We can likewise control how a column widget adjusts its children utilizing the property mainAxisAlignment and crossAxisAlignment. The column’s cross-axis will run horizontally, and the main axis will run vertically. These are highly customizable. You can find a row inside a column, and combining them can produce various layouts for various types of mobile applications.
For a consistent design, use themes to alter the fonts and colors. A responsive design is essential for applications as it guarantees a stable client experience across all gadgets. A very well-designed layout can improve the convenience of the application and make it simpler for clients to explore and cooperate with the point of interaction. To dynamically update interactive elements like buttons and text fields, you can use state management strategies like setState. Utilize the AssetImage and Icon widgets to include images and icons. To make the styling consistent across the application, a style ought to be applied each time, which would prompt code duplication. There are strategies for getting around it, such as making augmentations or custom buttons. Be that as it may, this studio is about easy UI consistency, which can be accomplished with the “Themewidget”. A Themewidget applies a Themedata, which describes the colors and typographic choices of an application to the next widget.
Now that we have gone through the basics, let’s begin by creating the user interface for a mobile application. There are 5 initial steps you need to keep in mind:
Step One is that you need the Flutter software and an editor who can complete a codelab. A codelab is something that enables you to write codes in an android IDE (Integrated development environment). Flutter app can be run both in mobile and web.
Step Two is to design an easy template that will be modified when your app is completed. Select “Start” from the homepage. Verify that the SDK’s location is indicated by the flutter SDK path. Enter your project UI name and tap straightaway. When completed tap “finish”. The Android studio will install the SDK and create the Flutter UI project.
Step Three is to begin modifying the default sample app. Start to modify the default sample app. This project aims to create a user-friendly chat app that displays text messages quickly and lets users send messages by pressing the send or return key button.
Step Four is where you create a user interface where the users can enter and send chats. “Textfield” is a material design widget in Flutter UI that offers properties that help you customize the behaviour of the input field. The friendlychat app should have the stateful widget added.
Step Five is the final step where you define the location as to where the messages are displayed, you can attach the animation to the widget if you please. You can also custom make more detailed features if you are interested.
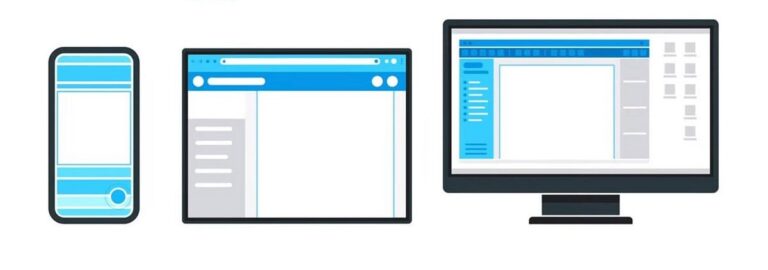
So yes! Now you learned how to make a Flutter layout that suits your needs. Unlock endless possibilities with Flutter and create intricate and gorgeous UIs during your mobile app development. Flutter’s versatile design framework permits you to make one codebase that consistently works across different gadgets and screen sizes. This implies you don’t need to stress over customizing designs for each screen, making it simpler to construct magnificent and responsive applications. Therefore, give these strategies a shot and have fun developing fantastic Flutter apps! To learn Flutter’s potent UI features, continue exploring and constructing new layouts for your iOS, hybrid, and Android app development. Make your app development journey innovative with seamless coding sessions.
Apps Ait: Your Partner in Digital Innovations
Are you planning to develop your Flutter layout into a complete mobile application? For the best mobile app development experience, turn to Apps AiT. Be it Android, iOS, or hybrid app development, Apps Ait provides top-notch and innovative digital realities. Our tech-savvy team is adept at offering complete solutions for your app development requirements.
To begin your mobile app development journey, contact us right away! We promise you a seamless and brand-new digital experience. Apps AiT comprises designers and developers who are passionate about mobile apps and want to bring their vision to life. Be it gaming mods and skins, websites, or mobile applications, our tech-savvy is adept at offering revolutionizing digital solutions. We understand the importance of user-centric mobile design and have a knack for creating apps that look elegant and provide a seamless user experience.
Our mobile applications are intuitive, user-friendly, and top-notch. Whether you’re building a social network application, an e-commerce platform, or a productivity solution, we have everything you need to turn your app into a digital success. Well, walk you through every stage of the app development process, from concept to launch to post-launch support to ensure your app stays fresh and competitive in today’s ever-evolving digital landscape. So, hurry up! Get ready to partner with Apps Ait and readily turn your app idea into a reality. We will make your app dreams come true with our best app designs.
Contact us today, and let’s embark on an exciting app development journey together!